What’s the first food that pops into your head when you think of marshmallows?
S’mores and hot chocolate are what come to mind for me. But SO many yummy creations start with marshmallows – just take a second to imagine all the flavors, desserts, and dishes that contain them! That’s why when I finally found the vegan marshmallows I’d been low-key hoping to come across for quite some time, I knew I needed to take the time to come up with a seriously special treat. After brainstorming, two marshmallow-infused sweets stuck out more than the rest: Rice Krispies and something rocky road flavored. Then the idea (that was right in front of my face all along) struck to combine the two for the ultimate marshmallow recipe – Rocky Road Rice Krispies!
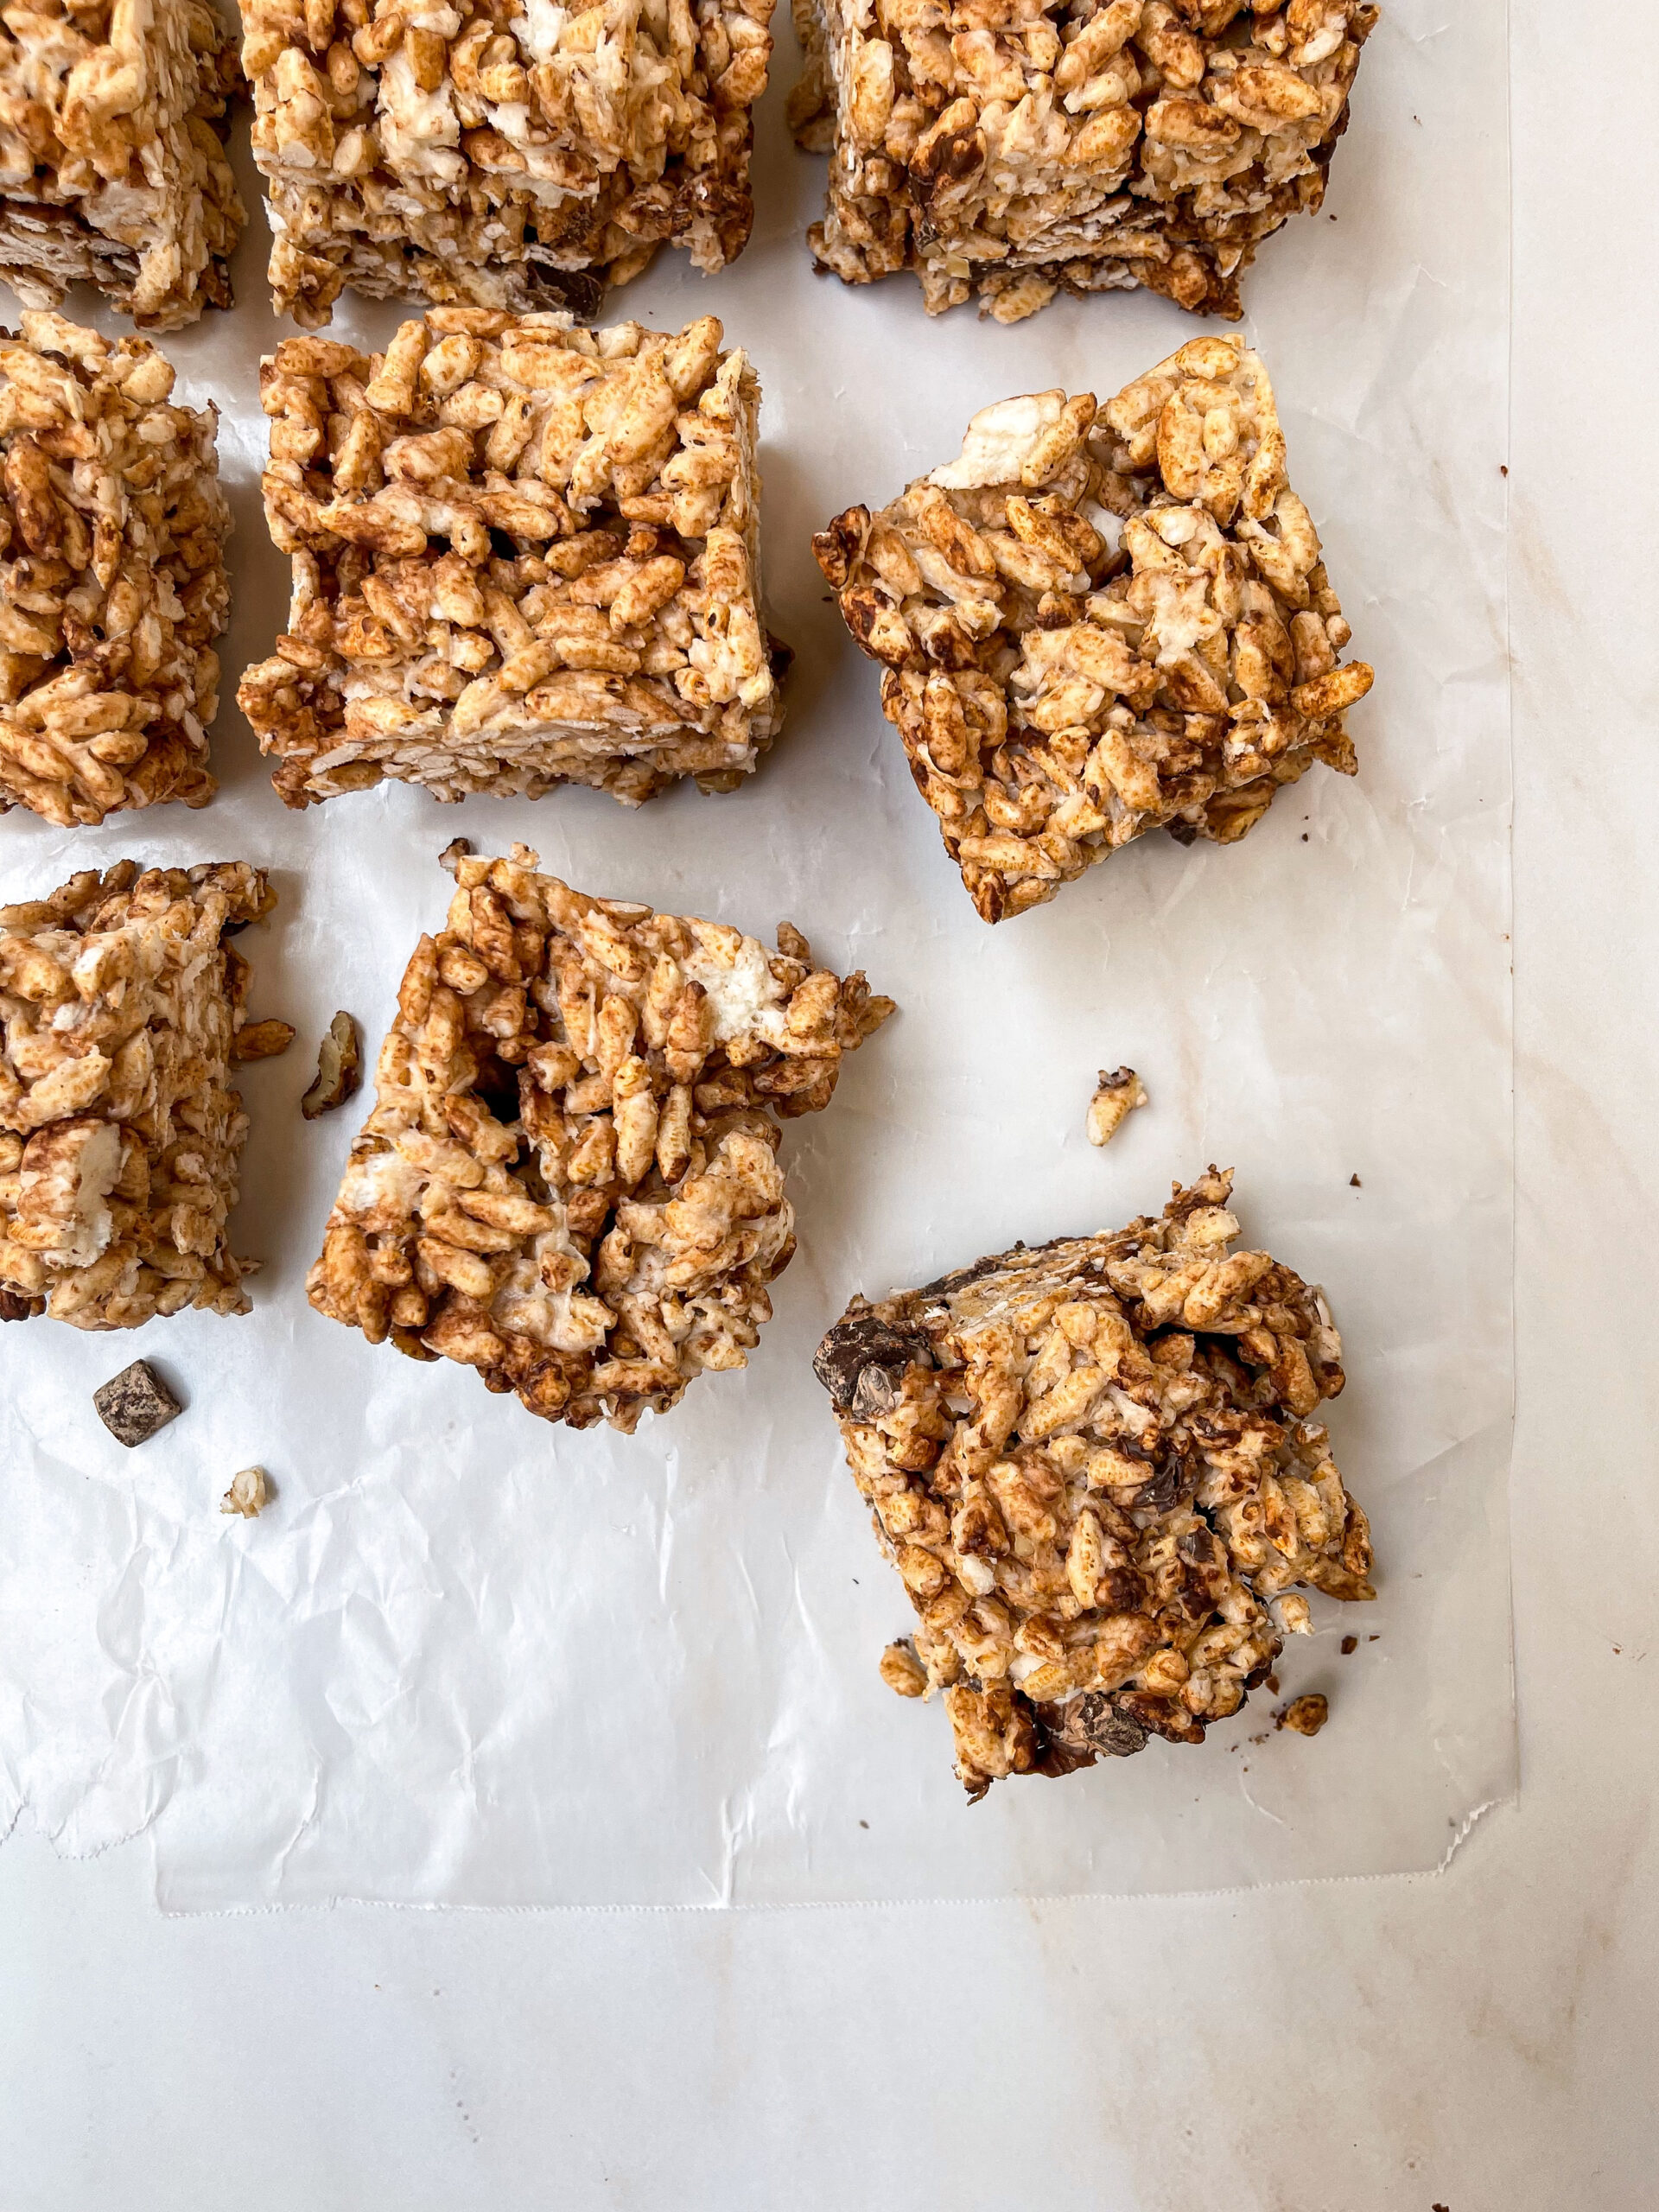
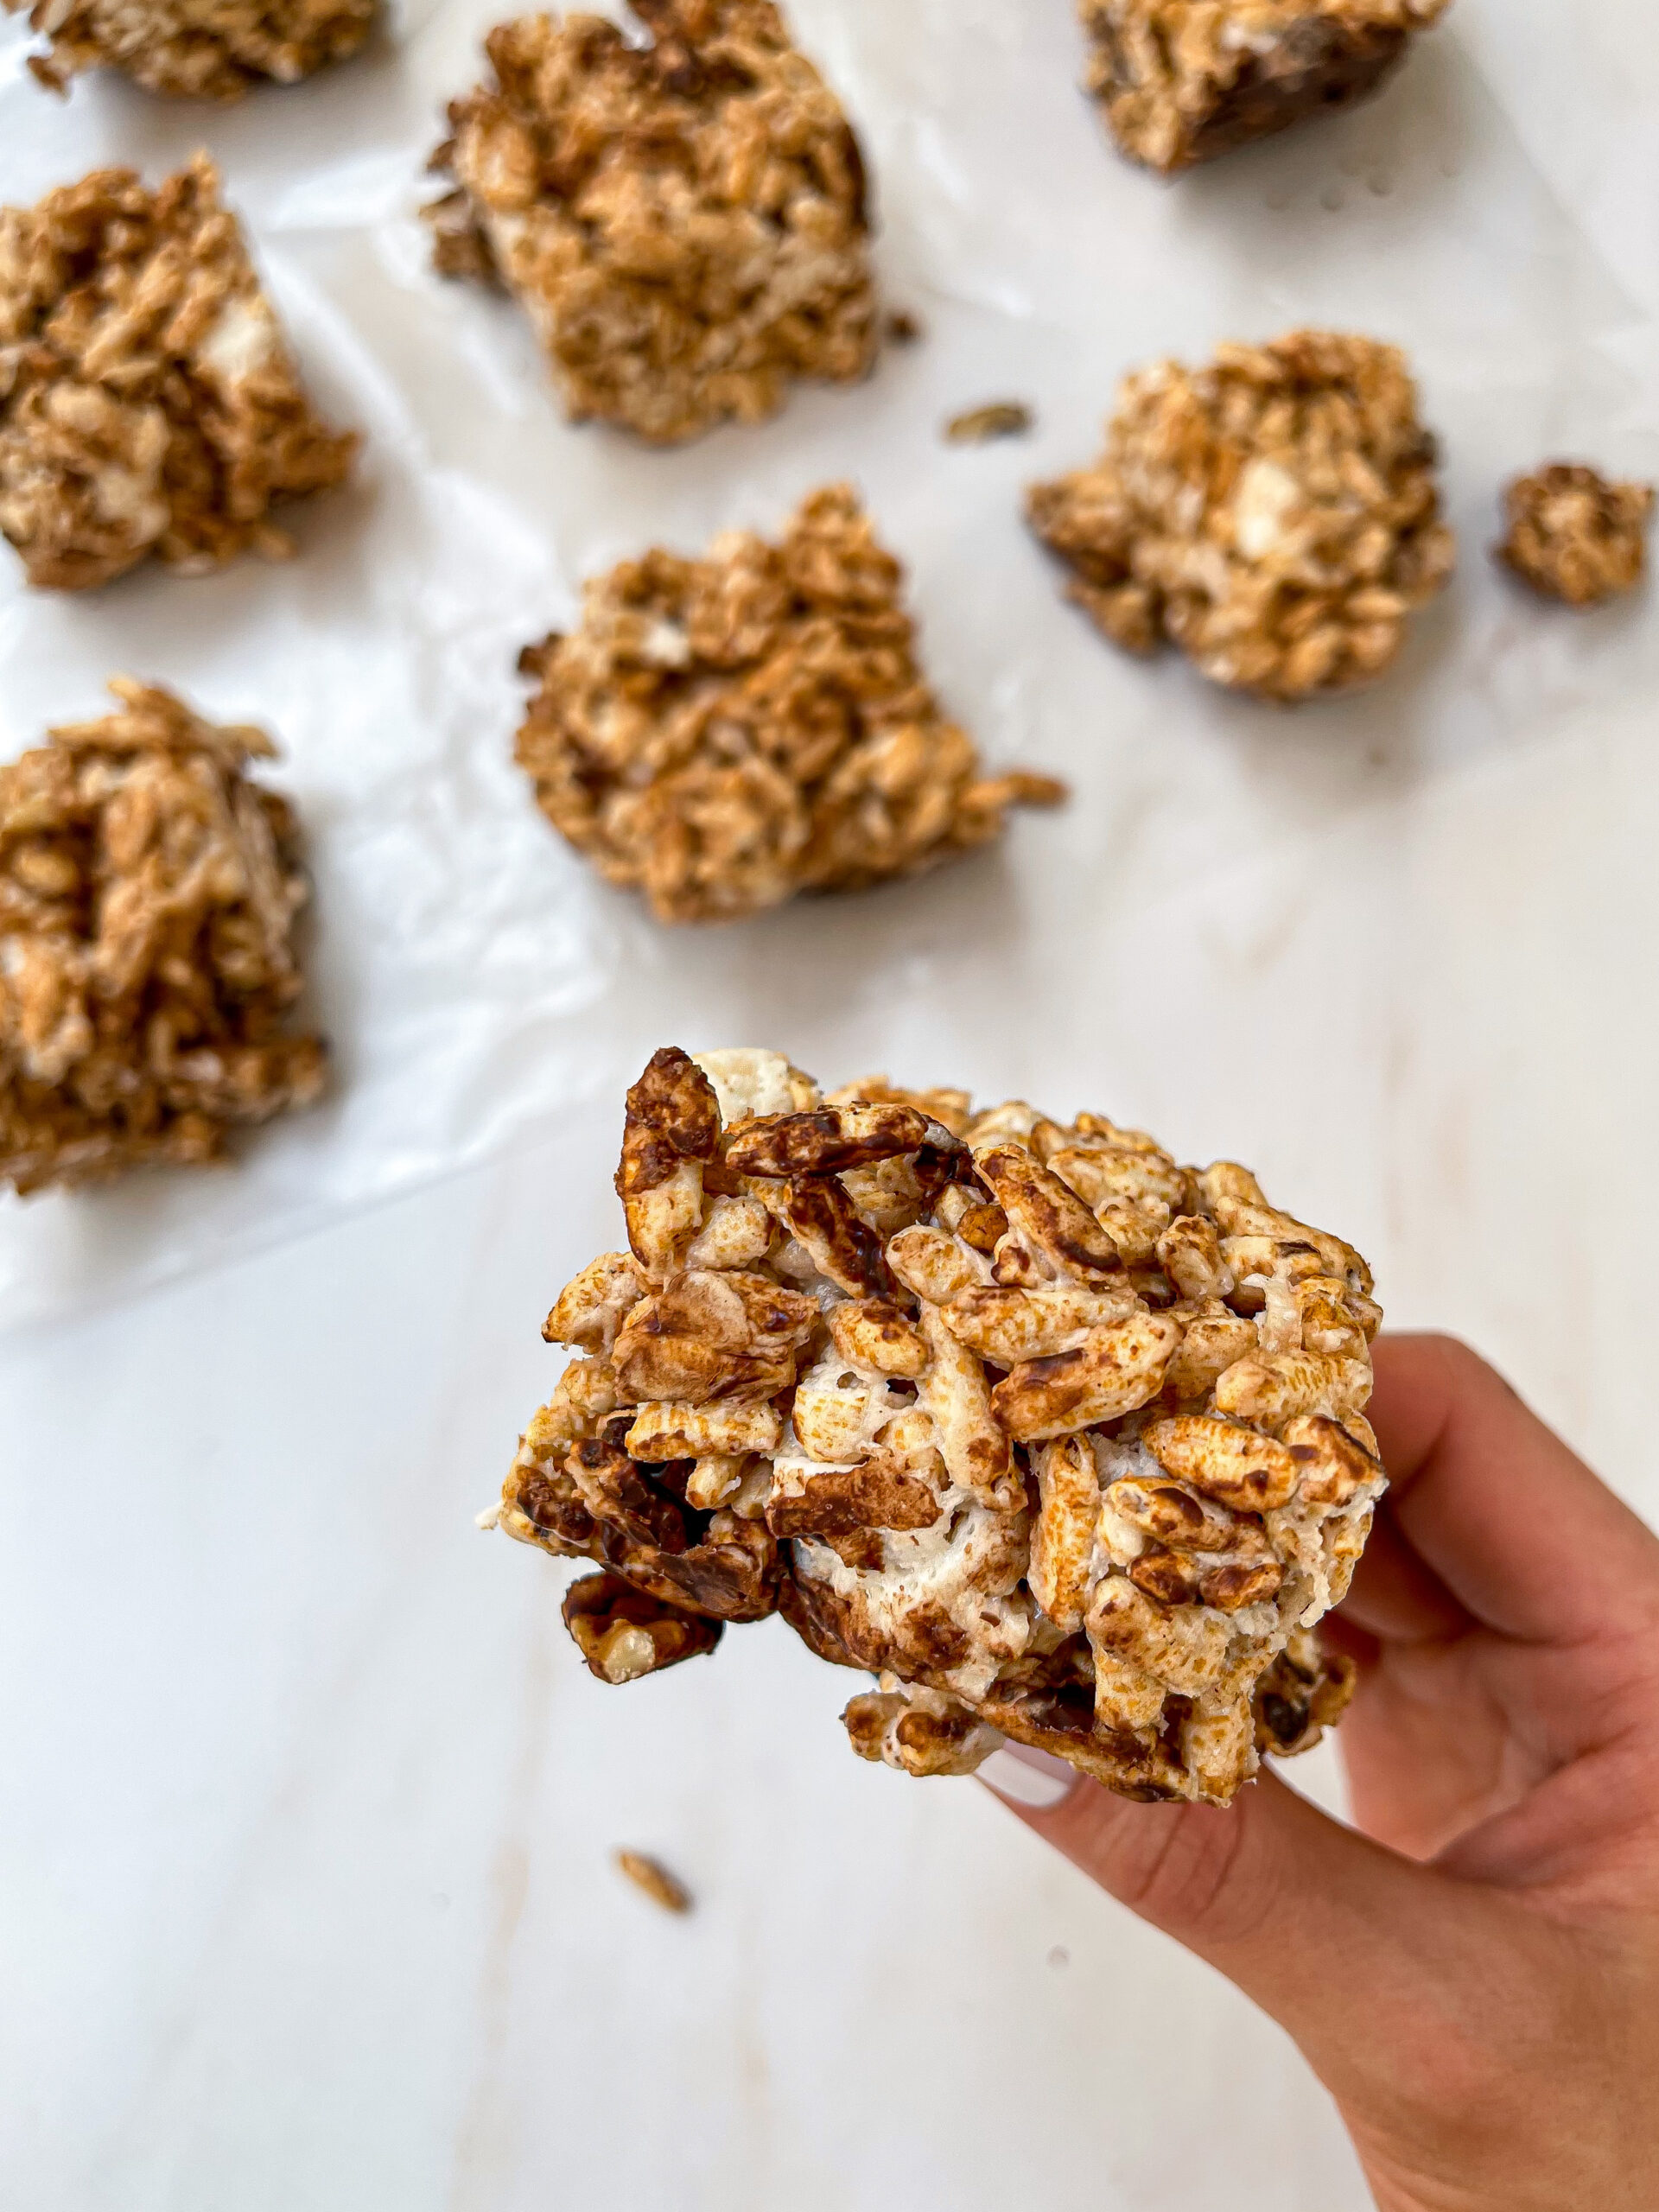
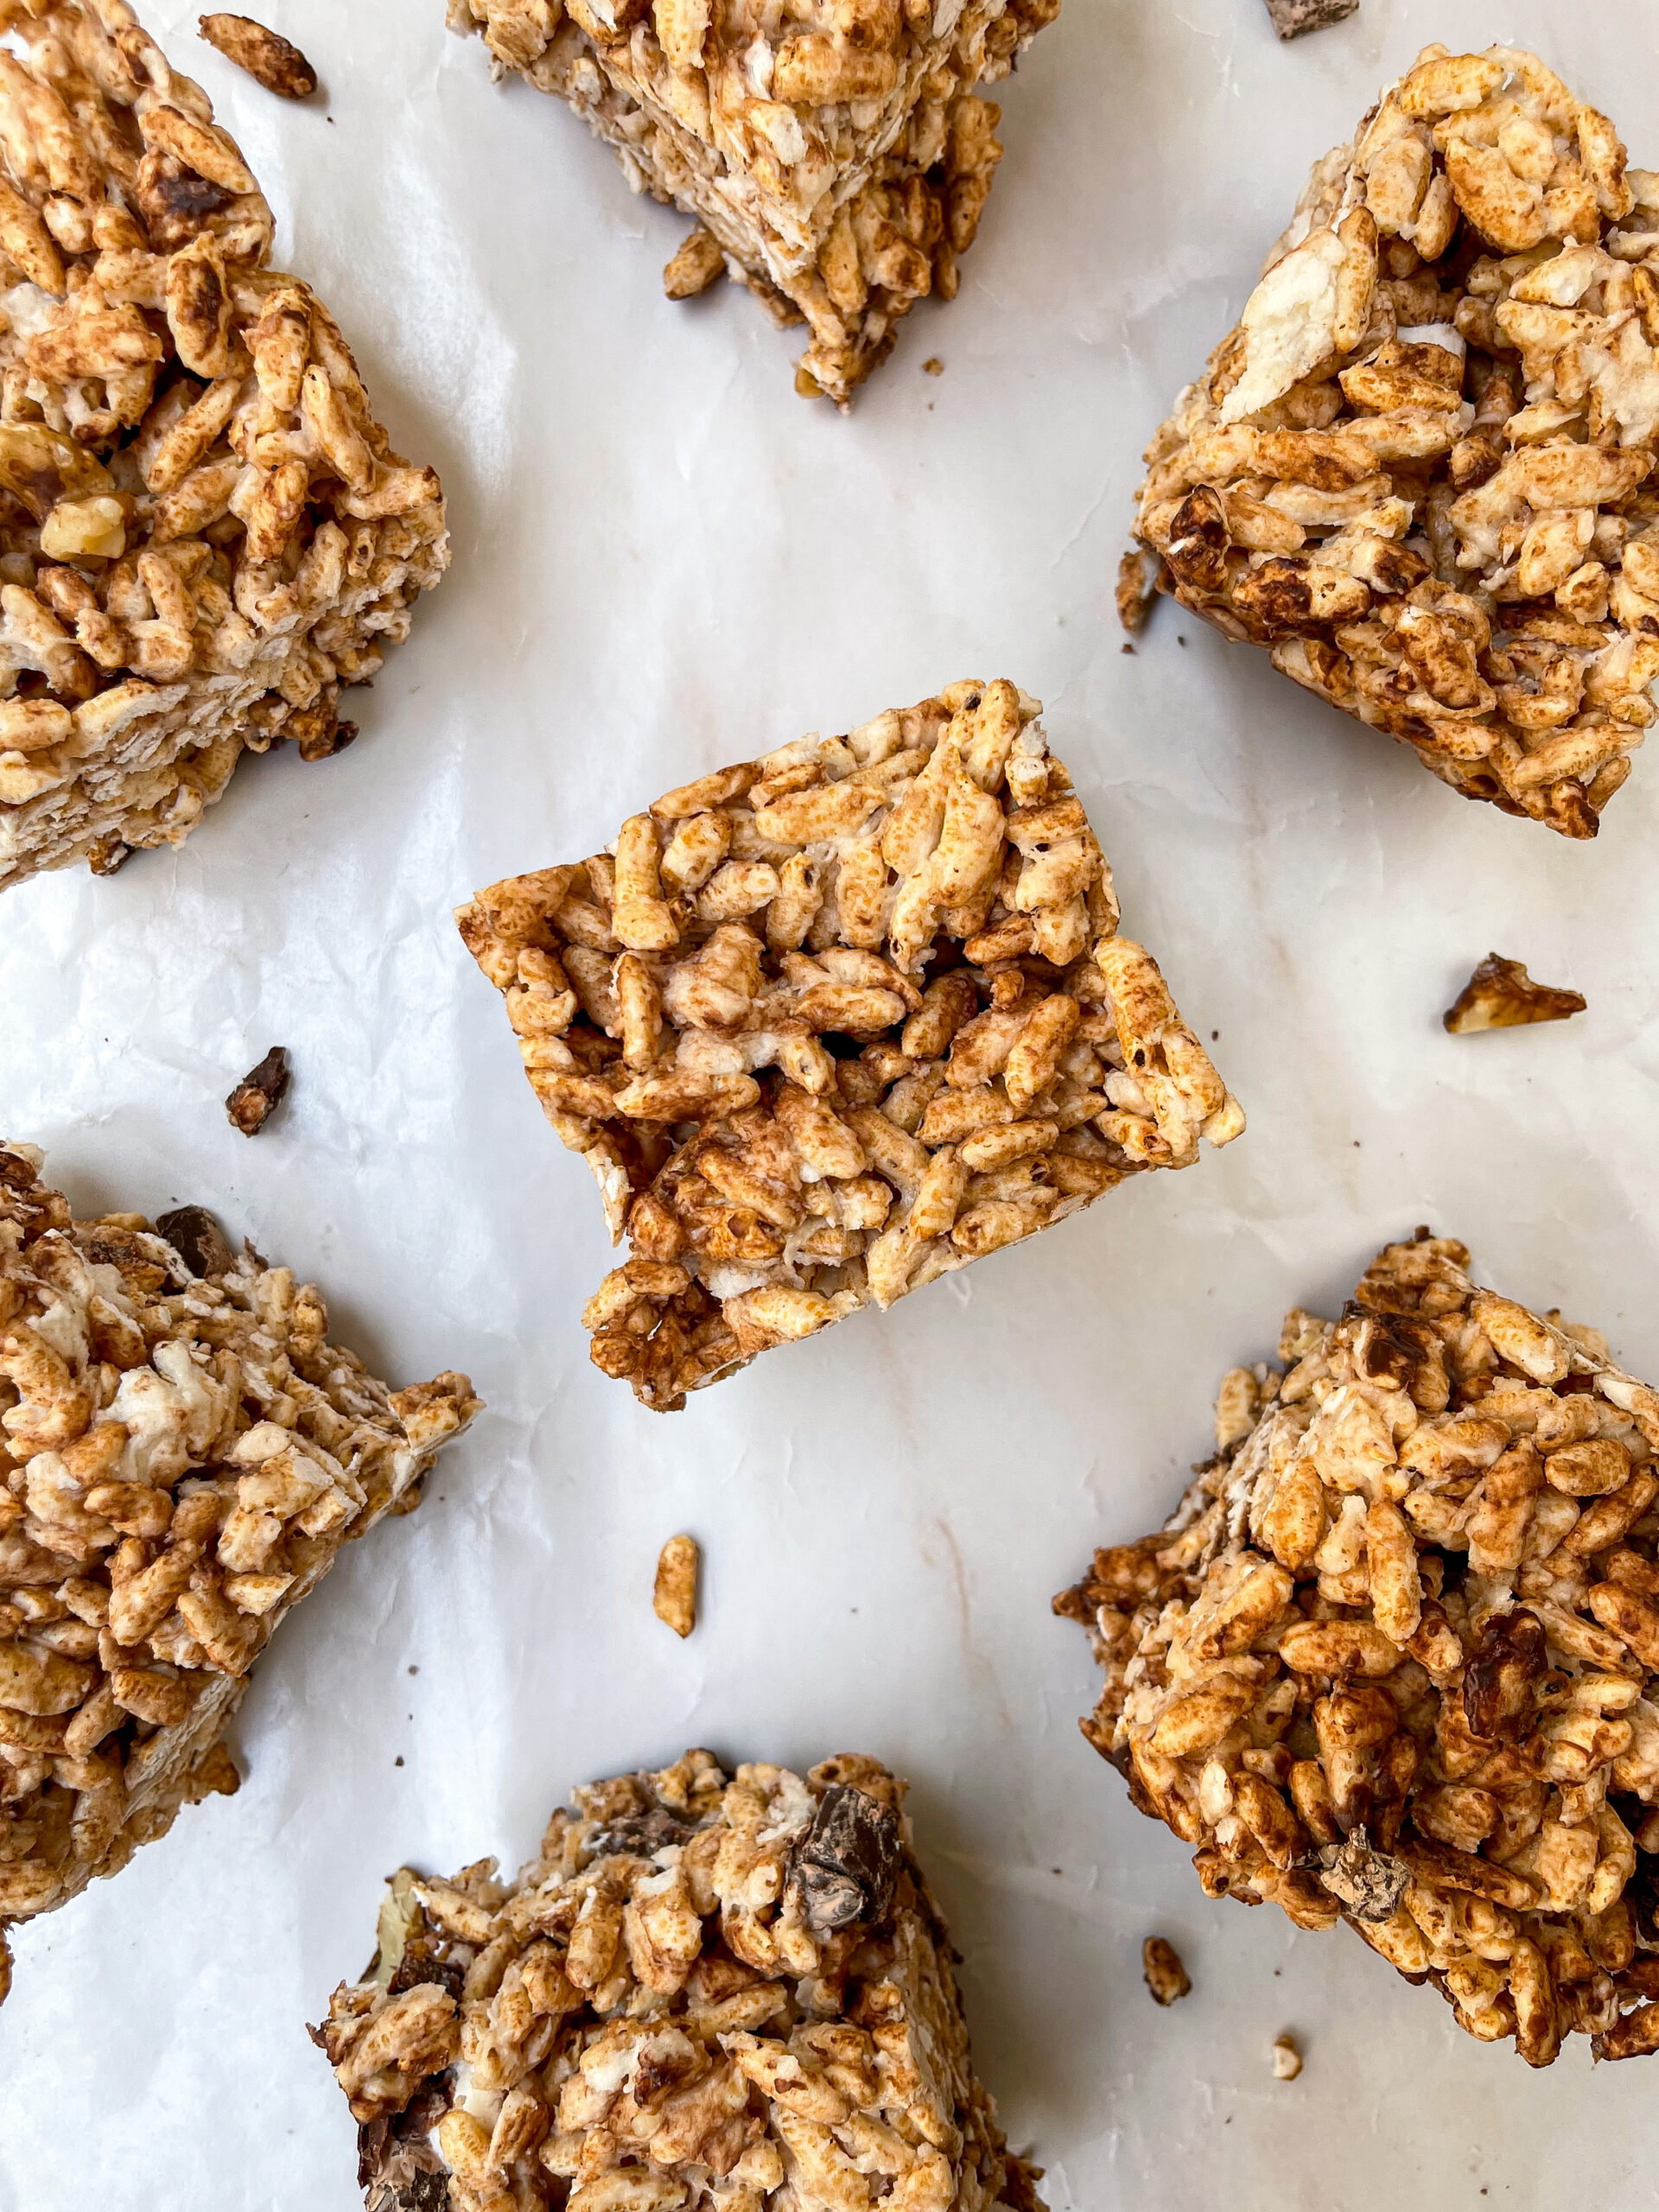
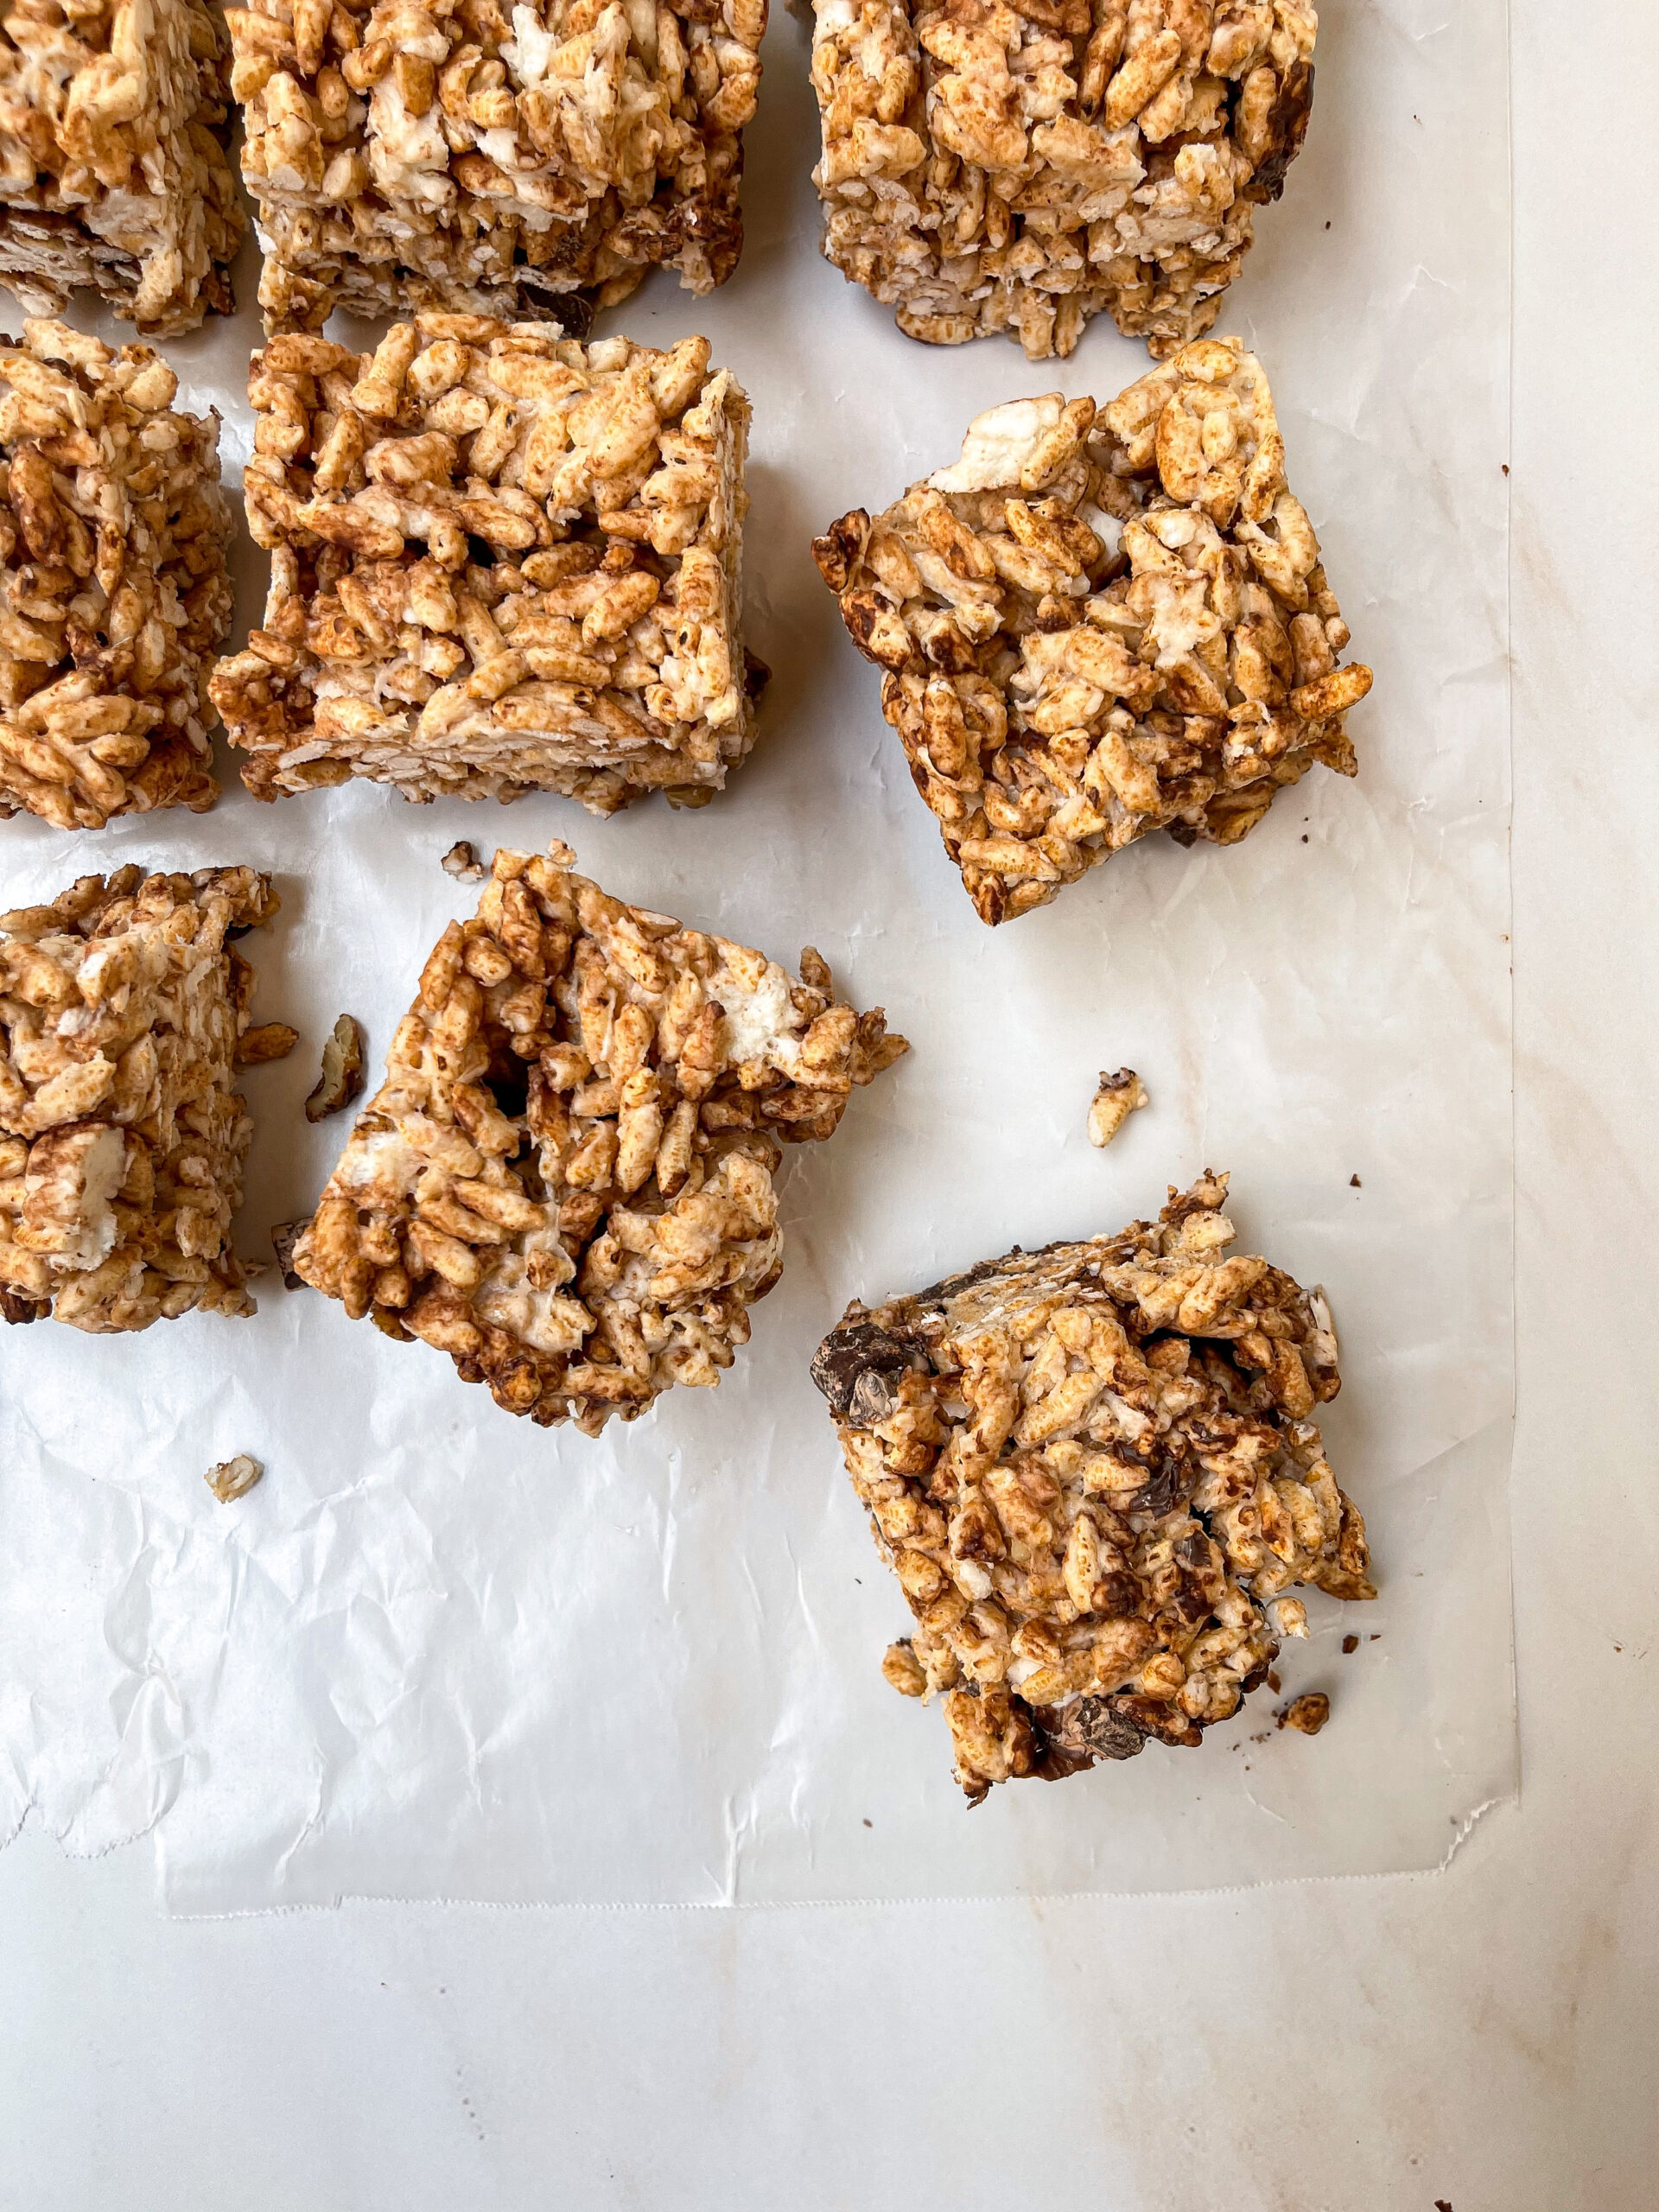
And that’s how these deliciously gooey goodies came to life. The super soft marshmallow base complements the crisp rice; melting and cocooning around every little piece to form a supple texture that manages to be both light and chewy all at once. Sprinkled throughout each blissful bite are velvety chunks of chocolate, raw walnut pieces, and fluffy marshmallows. But if some good ol’ OG rice krispies sound more enticing, the rocky road add-ins can be omitted. And there are other flavorings and ideas outlined below the directions!
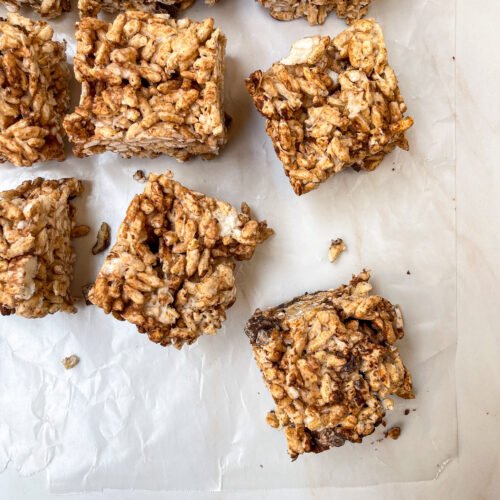
Rocky Road Vegan Rice Krispie Treats
Ingredients
- 1 TBSP oil: walnut, almond, coconut, or other neutral flavored oil
- 1 ½ TBSP (21 g) vegan butter
- 10 oz. vegan marshmallows*
- ½ tsp. vanilla
- Heavy pinch of sea salt
- 96 g (6 C) puffed rice cereal
Mix-Ins
- 1 oz. vegan marshmallows
- 65 g vegan chocolate chunks*
- 25 g walnut pieces
Instructions
- In a medium-sized pot, melt the oil and butter over low-medium heat
- Turn the heat down to low, add the marshmallows, vanilla, and sea salt, and stir until the marshmallows are melted and the mixture is smooth
- Once thoroughly combined, turn the heat off and gradually fold in the cereal until it’s all coated*
- Let the cereal and marshmallow mix cool for a few minutes before adding the rocky road mix-ins, then gently incorporate the marshmallows, chocolate chunks, and walnut pieces – be careful not to overmix as you don’t want the chocolate or marshmallows to completely melt, you want nice, gooey pockets!
- Transfer to a dish – an 8×8 or 9×9 pan works well – lined with wax paper, then using the butter wrapper, wet fingers, or an oiled rubber spatula to prevent sticking, lightly press and spread the mixture into the dish (the harder you press, the denser the treats will be)
- Allow the treats to cool for about an hour, then cut into squares, and store in an airtight container*
Notes
- *Marshmallows: Dandies All Natural Vanilla Marshmallows are what’s used here – this brand is free from corn syrup, artificial flavors and colors, gluten, and animal products
- *Chocolate chunks: a high quality, allergen-friendly vegan chocolate, if you’re in the market, is Enjoy Life (it’s the brand of chocolate that’s used in 99% of my recipes)
- *3. You can remove the pot from the heat entirely, but I prefer to keep it on the stove so the marshmallow mixture stays warm and is easier to work with. And it can take a while to fully mix the cereal in, so have patience; if it gets to the point that my forearms are burning incessantly, that’s usually when I recruit my husband and his abnormally large forearms to help with the mixing LOL
- *6. These are extra dreamy when warm, so you don’t have to let them cool before digging in!
- Storing opened bags of marshmallows: Marshmallows are sensitive to moisture and air (exposure to either is what causes them to deflate, get sticky, or harden), so the key is to keep as much out as possible! Aside from the conventional slice of bread in the marshmallow bag, they can also be stored in the fridge or freezer in a sealed, airtight container. If storing in the refrigerator, there’s a chance that the marshmallows might stick together due to slightly higher levels of humidity in fridges than freezers, so cornstarch or powdered sugar can be sprinkled onto the marshmallows beforehand to prevent that from happening. But I don’t use either and haven’t had any issues with keeping them in the fridge so far; I get all the air out of the marshmallow bag, fold it down a couple times and close it with a chip clip, place it in a larger Ziploc bag, and squeeze the air out of that before sealing it and putting it in the fridge.
- Although they’ve yet to last longer than a few days in the Holmes household, I’ve read that homemade Rice Krispies can be stored in the freezer in an airtight container for up to ~3 months
This classic chocolate and marshmallow duo has all the coziness of fall while still feeling reminiscent of summertime s’mores – but no matter the time of year, it’s always the right time for this dessert! While the rocky road mix-ins add a pop of pizazz, there’s flexibility in the added ingredients which can be substituted with other combos to better fit the occasion or your taste buds:
- Peppermint bark = white chocolate chips, crumbled candy canes, and optional peppermint extract
- A traditional sweet and salty pairing of chocolate morsels and pretzels
- Candy corn for Halloween or a fall theme
- Almond slivers, unsweetened coconut flakes, chocolate, and optional almond extract in place of vanilla for Almond Joy inspired treats
- A churro spin on rice krispies
- Peanut butter, chocolate, or caramel drizzles on top
- S’mores with chocolate, marshmallows, and graham cracker crumbs
- Flavored marshmallows, such as Dandies Maple Marshmallows, instead of regular
- Rainbow sprinkles for a birthday or celebratory feel
Now I do want to highlight that I don’t claim to have the healthiest recipes. Aside from everyone’s definition of “healthy” being different and highly personalized, SUNutrition recipes are generally classified as healthy and healthier. This recipe in particular is the latter – meaning that I could have made it healthier. Then why didn’t I? Oftentimes I choose not to make a recipe healthier for one of two reasons: doing so would require using more processed, less wholesome ingredients (such as chemical-laden sweeteners or artificial substitutes rather than raw honey or maple syrup) or it would make the end product taste healthy, which is never the goal! So just because you can do something doesn’t always mean you should.
Here’s two tasty tips for the road (no pun intended): pop one in the microwave for a few seconds (seriously just a few, no more than 10) and it wouldn’t hurt to double the recipe or at the very least, buy extra marshmallows because leftovers aren’t guaranteed – in fact, it’s almost certain that there will be ZERO leftovers when it comes to these sweet treats!
If interested, the macronutrients are below. They are kept separate at the very end of each recipe blog so that this can remain a safe, positive space for all as not everyone wishes to see the nutritional information.
Macros per treat (based on 12 treats): 34.1 C | 5.4 F | 1.2 P
If you cut more or less than 12 squares and want to know the macros per treat, just divide the macros of the entire recipe (below) by the total number of rice krispies.
Whole recipe: 409.2 C | 65.1 F | 14.1 P
If you skip the mix-ins, here are the macros for the plain Rice Krispies, without mix-ins:
Per treat (12) plain: 26.6 C | 2.3 F | 0.5 P
Whole recipe plain: 318.7 C | 27.1 F | 6 P
The macros for recipes are also available on MyFitnessPal. Simply search the name of the recipe followed by “ – SUNutrition” (so for this recipe, search “Rocky Road Vegan Rice Krispies – SUNutrition”).
leave a comment